Unlock the Power of Green: Your Guide to Making Wheatgrass Shots & Juice at Home
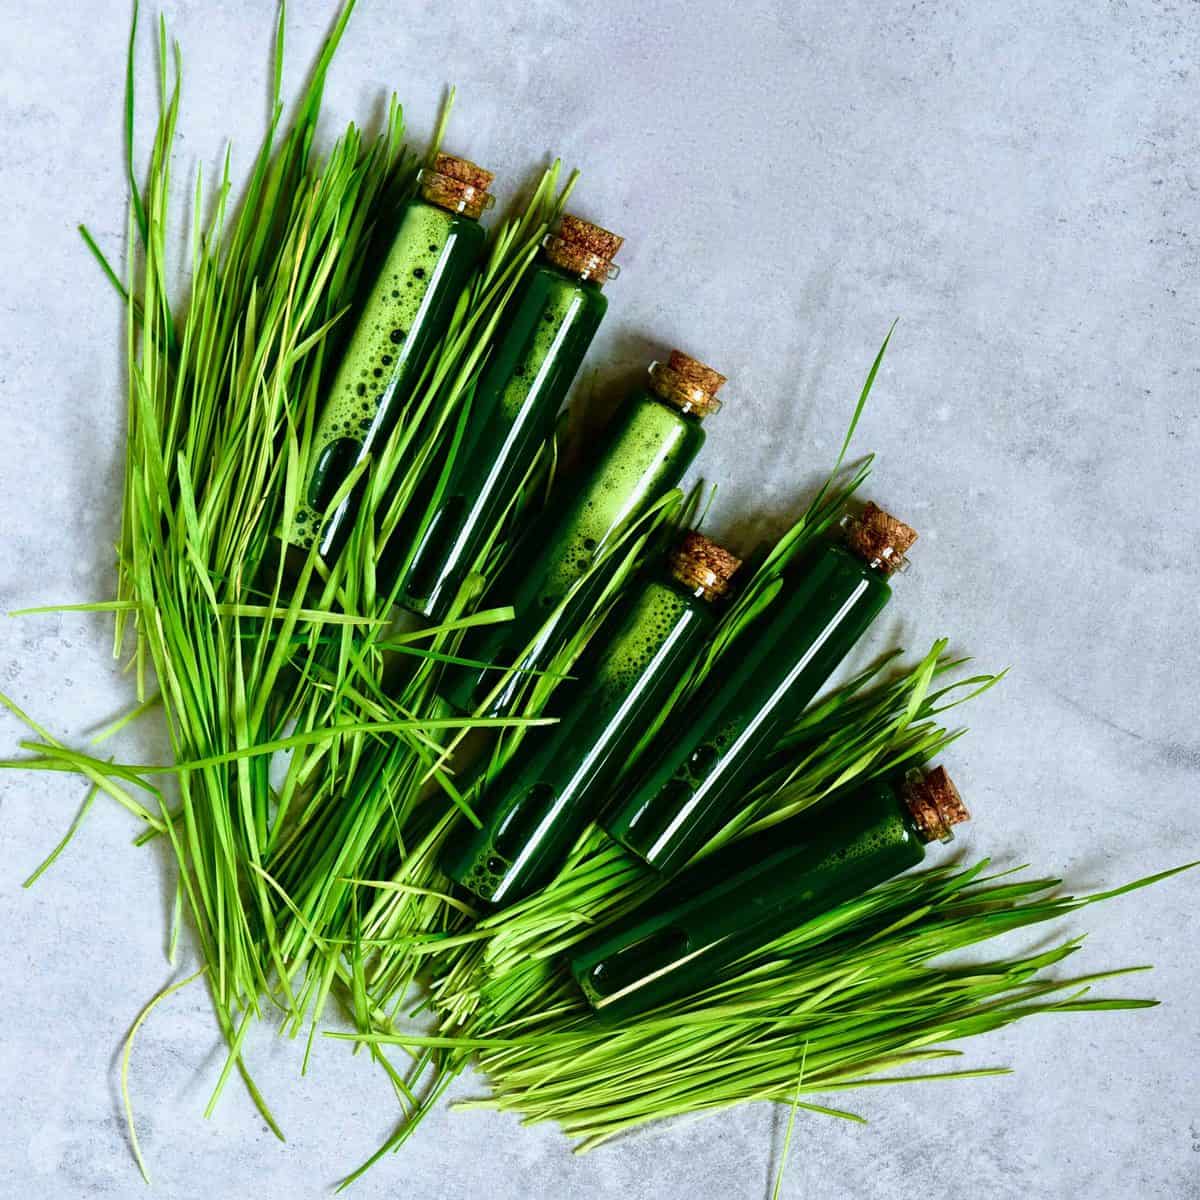
Wheatgrass has long been heralded as a superfood, a vibrant green elixir packed with nutrients, often dubbed "liquid sunshine." For those looking to boost their wellness routine, making your own wheatgrass shots and juice at home offers an unparalleled level of freshness, potency, and cost-effectiveness. But how exactly do you extract this verdant goodness from the grass, and what’s the best tool for the job – a juicer or a blender?
This comprehensive guide will demystify the process of how to make wheatgrass shots and juice, helping you choose the right method for your lifestyle and ensuring you get the most out of every blade.
What is Wheatgrass and Why Make it at Home?
Wheatgrass is simply the young, tender shoots of the common wheat plant, typically harvested when it's 7-14 days old. At this stage, it's bursting with chlorophyll, vitamins, minerals, amino acids, and enzymes. Its potential health benefits range from detoxification and immune support to improved digestion and energy levels. Many enthusiasts choose to grow their own wheatgrass at home, a surprisingly simple process that ensures a continuous supply of the freshest possible greens.
The primary appeal of DIY wheatgrass extends beyond just the potential health benefits. It's about control over quality, avoiding preservatives found in some store-bought options, and significantly reducing the cost compared to purchasing ready-made shots from juice bars. Plus, there's a certain satisfaction in harvesting and preparing your own nutrient-dense drink.
Juicer vs. Blender: The Ultimate Showdown for Wheatgrass Extraction
When it comes to extracting juice from wheatgrass, the two main contenders are the juicer and the blender. Each has its pros and cons, catering to different preferences and needs.
The Juicer Method: Purity and Potency
For purists and those serious about maximizing their wheatgrass yield and nutrient concentration, a juicer is undeniably the superior choice. Specifically, a masticating juicer (also known as a slow juicer or cold press juicer) is often recommended for leafy greens like wheatgrass.
- Pros:
- Maximum Extraction: Masticating juicers chew and press the grass slowly, efficiently squeezing out nearly every drop of juice and leaving behind a very dry pulp. This means you get more concentrated nutrients and a greater volume of juice from your wheatgrass.
- Concentrated Nutrients: The resulting juice is pure and undiluted, offering the full potency of wheatgrass in a small shot.
- Less Oxidation: The slow pressing action generates less heat and introduces less oxygen compared to high-speed blenders, which can help preserve delicate enzymes and nutrients.
- Smooth Texture: You get a clear, smooth juice without any fibrous bits.
- Cons:
- Cost: Quality masticating juicers can be a significant investment.
- Dedicated Appliance: It's another kitchen appliance that takes up space.
- Cleaning: While generally not overly difficult, juicers require cleaning of multiple parts after each use.
The Blender Method: Accessibility and Versatility
If you don't own a juicer or prefer a more versatile approach, a high-speed blender can absolutely be used to make wheatgrass juice. However, it comes with a key difference: dilution.
- Pros:
- Accessibility: Most households already own a blender, making this an immediate and cost-effective option.
- Versatility: A blender can be used for a myriad of other recipes beyond wheatgrass.
- Milder Taste: Because the wheatgrass is blended with water (or another liquid), the resulting drink is more diluted, which can make its intense flavor more palatable for beginners.
- Retained Fiber: If you don't strain the blended mixture, you'll retain some of the fiber, which can be beneficial for digestion, though it changes the consistency from a "juice" to more of a "smoothie."
- Cons:
- Dilution: To get the blender to work effectively with fibrous wheatgrass, you must add water. This means your "juice" is less concentrated in nutrients compared to a pure juiced shot.
- Less Efficient Extraction: Blenders pulverize rather than press, meaning you'll likely leave more juice trapped within the pulp, even after straining.
- More Pulp/Fibrous: Even after straining, the texture may not be as smooth as juiced wheatgrass. If you don't strain, it will be quite fibrous.
- Potential Heat/Oxidation: High-speed blending can generate heat and incorporate more air, potentially degrading some heat-sensitive nutrients and enzymes.
Verdict: For a true, potent wheatgrass shot, a juicer (especially a masticating one) is the way to go. For beginners or those on a budget, a blender is a perfectly viable entry point, particularly if you plan to incorporate the wheatgrass into smoothies or more diluted drinks.
How to Make Wheatgrass Shots & Juice at Home (Step-by-Step)
Regardless of your chosen method, the initial preparation of your wheatgrass remains the same.
Preparation (Common to Both Methods):
- Source Your Wheatgrass: Whether you've grown it yourself (which is highly recommended for freshness and cost-efficiency) or purchased it from a health food store or farmer's market, ensure it's fresh and vibrant green.
- Rinse Thoroughly: Wash your wheatgrass under cool running water to remove any dirt or debris. Pat it gently dry with a clean cloth or paper towel.
- Measure: As a general guideline, approximately 300 grams (about 10-11 ounces) of fresh wheatgrass typically yields 200-250 ml (about 7-8.5 fl oz) of pure juice. Adjust according to your desired quantity.
- Cut: Using kitchen shears or a sharp knife, cut the wheatgrass into shorter, manageable pieces (1-2 inches) to make it easier for both juicing and blending.
Method 1: Making Wheatgrass Juice with a Juicer
- Assemble Your Juicer: Ensure all parts are correctly assembled. Place a collection container under the juice spout.
- Feed Wheatgrass Slowly: Turn on your juicer. Feed the wheatgrass pieces into the feeding chute gradually. For masticating juicers, it's best to feed small handfuls at a time to prevent clogging and ensure maximum extraction.
- Collect the Juice: As you feed the grass, the juicer will separate the pure green juice from the fibrous pulp.
- Optional: Re-juice Pulp: For an even higher yield, you can often run the pulp through the juicer a second time, especially with very fibrous greens.
- Serve Immediately: Wheatgrass juice is best consumed fresh for optimal nutrient content.
Method 2: Making Wheatgrass Juice with a Blender
- Combine Ingredients: Place your cut wheatgrass into your high-speed blender. Add a small amount of water – start with about 1/2 to 1 cup of filtered water per 100-150 grams of wheatgrass. You can also use coconut water or apple juice for a slightly sweeter, more palatable blend.
- Blend Thoroughly: Secure the lid and blend on high speed until the wheatgrass is completely pulverized and the mixture is smooth. This might take 1-2 minutes, depending on your blender's power.
- Strain the Mixture: This is a crucial step to get a "juice" rather than a thick smoothie.
- Place a nut milk bag or a fine-mesh sieve lined with cheesecloth over a bowl or jar.
- Pour the blended wheatgrass mixture into the bag/sieve.
- Gently squeeze the bag or press the mixture with a spoon to extract all the liquid, leaving the fibrous pulp behind.
- Serve Immediately: Just like with juiced wheatgrass, consume your blended and strained juice as fresh as possible.
Tips for Wheatgrass Newbies & Beyond
Wheatgrass has a remarkably potent, earthy, and sometimes intensely sweet flavor that can be a shock to first-time drinkers. To make your journey into wheatgrass consumption enjoyable and effective, consider these tips:
- Start Small: The most common advice for beginners is to start with a very small amount, such as a 1/2-ounce (15ml) to 1-ounce (30ml) shot. This helps your body adjust to its potent detoxifying effects, which can sometimes cause initial side effects like mild nausea, headache, or an upset stomach. Slowly increase your intake as your body adapts.
- Best Time to Drink: Many enthusiasts recommend drinking wheatgrass juice first thing in the morning on an empty stomach. Wait at least an hour before consuming other food or drinks to allow for optimal absorption and to minimize potential digestive discomfort.
- Dilution is Your Friend: If the taste is too strong, don't hesitate to mix your wheatgrass juice with other fresh juices (like apple, orange, or cucumber), blend it into a smoothie, or even stir it into a glass of water. This can significantly improve palatability while still delivering the benefits.
- Creative Culinary Uses: Don't limit wheatgrass to just shots! Incorporate it into salad dressings for a vibrant color and nutrient boost, use it in homemade popsicles, or add it to your favorite green smoothie recipes.
- Beyond Ingestion: Wheatgrass isn't just for drinking. It can be used topically to soothe skin irritations, blemishes, and even help reduce scarring due to its chlorophyll content.
- Fresh is Best: While wheatgrass powder is available as a convenient alternative, fresh wheatgrass juice is generally preferred. The nutritional values can vary significantly between fresh and powdered forms, with fresh offering the most vibrant and active enzymes and nutrients.
- Storage: Fresh wheatgrass juice is highly perishable. It's best consumed immediately after preparation. If you must store it, transfer it to an airtight container and refrigerate for no more than 24 hours to minimize nutrient degradation.
Embracing wheatgrass into your diet can be a powerful step towards enhanced wellness. By understanding Wheatgrass Benefits & DIY Juice: Detox Your Body Easily, you can harness its full potential.
Conclusion
Making your own wheatgrass shots and juice at home is a rewarding endeavor that puts the power of this remarkable superfood directly into your hands. Whether you opt for the pure potency of a juicer or the accessibility of a blender, the key is to start with fresh, quality wheatgrass and ease into consumption. With these methods and tips, you're well-equipped to integrate this vibrant green elixir into your daily routine, paving the way for a healthier, more energized you.
